Taking pictures of food looks seemingly easy since it’s a stationary subject. But, between picking the right lighting, knowing the best focal length to use, and how to compose your shot, there are a lot of factors to think through. Here are 5 tips to elevate your food photography and take it to the next level.
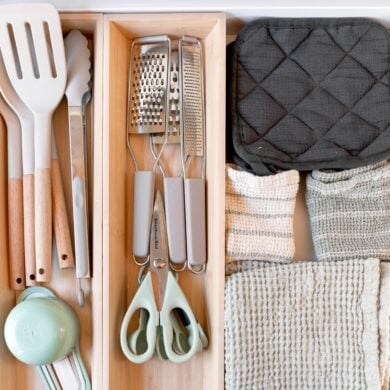
Use Negative Space
When taking photos of your food, not all of the space in the frame needs to be filled. Food photographer Rob Grimm shares that some of the strongest food photos are ones that utilize negative space in their framing. It can create a nice juxtaposition between the food photographed and the rest of the space, and it really highlights the food.
One of the most common mistakes photographers can make is thinking that their entire frame needs to be filled with items. Remember that less is more!
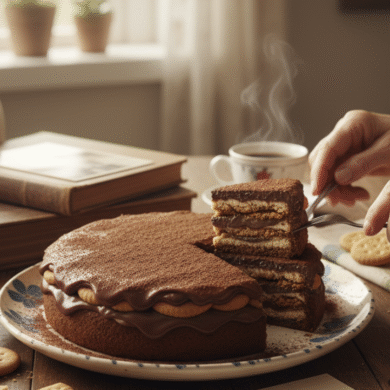
Add Texture and Layers
If your photo only consists of one basic layer and there is no dimension to the shot, it’s going to look pretty boring. It doesn’t necessarily mean that it’s a bad photo in terms of lighting and composition, but the styling is lacking.
Always try to have 2-3 layers within the photos and a couple of different textures as well to give the image more visual interest. For example, if you made blueberry pancakes, you might place a stack of pancakes on a plate. To make the shot more interesting, place blueberries on the table and even sprinkle some powdered sugar throughout the scene as well.
Use a Tripod
A tripod is going to be one of the most important tools that you use for food photography (minus the camera itself). Because you’ll be shooting close-up details of the food, it’s important that the images are extremely sharp. Blurry food and drink images are unappealing and look unprofessional, so invest in a tripod.
Plus, using a tripod is a great way to take photos that include you actually showing how to cook and prep certain steps. You can set your camera to self-timer and have enough time to get into the frame.
Get a Macro Lens
Because food photography is all about the details, a macro lens can really elevate the look of your images. A 90mm or 100mm macro lens is a great piece of gear to add to your collection and can take your images from beginner to professional pretty quickly, especially if you nail the lighting and composition.

With a 90mm or 100mm lens, the background of your image will be compressed, which adds a beautiful blur and depth to your photos.
Control the Lighting
Regardless of the time of day you shoot, you need to be in control of the lighting and understand how it affects your images. While using natural light is nice, if you’re planning to shoot all day, the light is going to drastically change throughout your shoot. This can cause images to look inconsistent.
Instead of relying on external forces for your lighting, pick up a couple of softboxes that you can use to light your kitchen or cooking space. You can either get lights that are constant and always on, or you can get speedlights. Speedlights typically give you more control of the overall output of light, though it’s easier with constant lights to know exactly what the photo will look like before you press the shutter.
Conclusion
Along with the tips above, remember that in order to bring your photos to the next level, the key is to practice. Don’t be afraid to experiment with different ideas to see what works and what doesn’t.