Cooking Chestnuts
Chestnuts come from the nut-bearing Castanea tree, which is rare in the United States due to a blight in the early 20th Century. They are now cultivated in Europe and are imported fresh from September through February. Chestnuts are unrelated to horse chestnuts (which are inedible and dangerous to eat) and water chestnuts (a tuber with an apple-like crispness that is widely used in Asian cooking).
To roast fresh chestnuts, make a one-inch slash on the flat side of the nut’s shell with a sharp knife, just barely revealing the flesh. Place the nuts on a cookie sheet in a preheated 400º oven until the skins split and the flesh begins to brown (about ten minutes). Peel away the shell with the help of a knife. Chestnuts can also be blanched. After boiling for 3-4 minutes, wrap them in a towel and squeeze hard to crush the skins and extract the meat. Keep fresh chestnuts up to one week in a cool, dry place, or two weeks in a plastic bag in the refrigerator.
top of page
Caramelizing Sugar
Sugar is caramelized when it is melted into a clear golden to dark brown syrup, reaching a temperature from 320 to 350 degrees F. The example here is a medium amber.
To start, add some water to dry sugar in a pot, stirring, until it reaches the consistency of wet sand. The acid from added lemon juice will help prevent recrystallization. Instead of using lemon juice, you could add acidity with vinegar, cream of tartar or corn syrup. Always start with a very clean pan and utensils. Any dirt or debris can cause crystals to form around it. Heat the pan over a medium flame. As the sugar melts, you can wash down the sides of a pan with a wet brush, which also prevents crystallization by removing any dried drops of syrup that might start crystals. As the caramel heats, it colors in amber shades from light to deep brown.
top of page
Caramelizing Food
All meat and vegetables contain some sugar (in the form of carbohydrates). Under intense dry heat, as in roasting or sauteing, these sugars break down. The result is the brown color and rich flavor called caramelisation.
top of page
Making Crepes
Crepe batter should be allowed to rest for 1 to 24 hours before use. This allows the gluten to relax, and the flour to absorb the liquid therefor collapsing any air bubbles in the batter. If crepe batter is made in a blender it can be used immediately and does not need to rest.
The basic recipe for crepes is 1/2 cup liquid to 1/2 cup flour to 1 egg. An expensive crepe pan is not necessary. Any good non-stick pan will work fine. Coat your pan with a thin coat of butter or oil first then heat over medium-high heat. Once the pan is heated, no additional fat should be needed but if your pan develops a dry spot use a oil dampened paper cloth or a quick spray of cooking oil. It is best to use a ladle and to quickly coat the bottom of the pan with a thin coat of batter. The quicker the thinner the better! Tilting the pan is a good way to evenly distribute the batter. When the edges of the crepe are dry and begin to pull away from the pan, use your fingers to gently lift and flip the crepe. The second side should be done in seconds and be ready to be placed on wax paper to cool. Putting a sheet of wax paper between the crepes will keep them from sticking together and can be immediately placed in a plastic bag for storage in the refrigerator or freezer.
top of page
Chiffonade
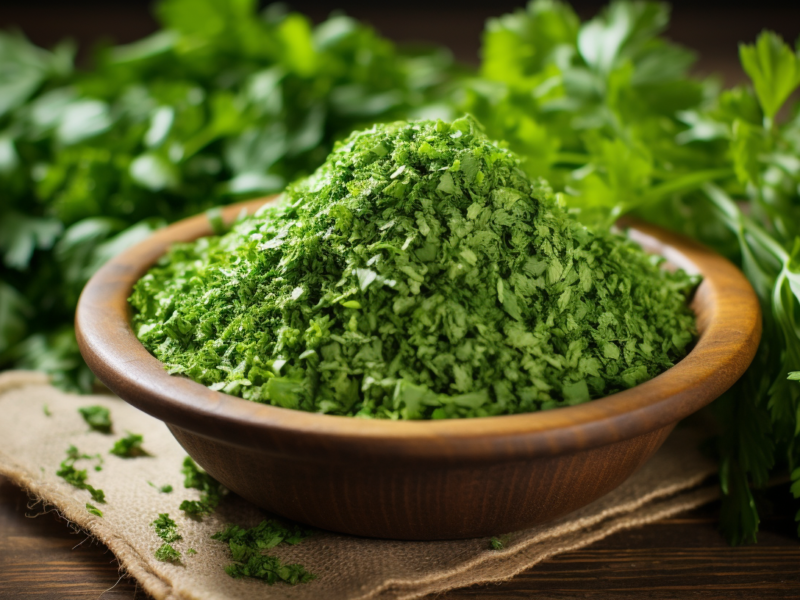
When translated literally from the French, “chiffonade” means “made of rags.” In culinary terms it means finely cut strips or ribbons of leafy vegetables or herbs.
To chiffonade a cabbage for coleslaw, cut a cleaned, washed head into quarters, remove the hard core, then thinly slice the quarters across the grain. Greens with large, loose leaves, such as chard, can be rolled up and sliced thinly. Smaller leaves, such as basil, can be stacked, then rolled and sliced across the vein. For leaves with a central woody stem, such as kaffir lime leaves, roll from tip to stem, slice parallel to the vein and discard the woody stem.
top of page
Chop
To chop means to cut foods into pieces. This is a larger cut than dice or mince and generally does not need to be uniform.
To chop vegetables, first trim the stem and peel if necessary. To hold your chef’s knife properly, grasp the handle with three fingers and put your forefinger and thumb on opposite sides of the blade. With a rocking motion, keeping the tip of the knife on the chopping board, slice down through the vegetable at regular intervals, using the full length of the knife. Use your other hand to feed the vegetable toward the knife. To do this safely, curl your fingers in and use your fingertips to grasp and move the item. With a little practice, you’ll be chopping quickly and safely.
top of page
Clarify Butter
While clarified butter doesn’t have as much flavor as whole butter, it does have a higher smoke point–making it useful for saute–because the milk solids, which scorch easily, have been removed. Also, without milk solids butter won’t spoil as quickly. In the days before refrigeration, cooks in India perfected a special clarifying process that significantly prolongs freshness. This highly clarified butter is called ghee.
To clarify butter, first melt unsalted butter slowly in a pan. Simmer over low heat, without stirring, until the milk solids have separated and sink to the bottom. Other impurities will rise to the surface, while the butterfat in the middle layer becomes very clear. Remove the pan from the heat and skim off the foam with a spoon. Then carefully ladle the clarified butterfat into a separate container. Be careful to leave the solids behind. One pound of butter will yield approximately 12 ounces of clarified butter.
top of page
Citrus – How to Section
Removing the sections of citrus intact from the tasteless membrane seems more complicated than just peeling and eating an orange. However, with patience, a little practice, and a sharp paring knife it will become a breeze.
Begin by cutting off the top and bottom of the fruit down to the pulp using a back and forth sawing motion. Place the fruit on a cutting board and cut away the peel in strips from top to bottom using the edge of the previous cut as the starting point for the next. Remember to stay close to the pulp and maintain the sawing motion. Then, holding the fruit in one hand over a small bowl, slowly cut through it along one of the membranes down to the center using the sawing motion. Gently repeat this with the membrane on the other side of the section, which should then come free. Carefully place the section in a container for later use. After you have removed all of the sections, pour the excess juice into the container. You now have perfect citrus sections to use as a flavor component or garnish for salads, appetizers, entrees, or desserts.
top of page
Coconuts: Opening, Grating and Liquado
Opening Coconuts: Open the coconuts by flinging them onto a cement or rock surface (this is how the monkeys do it!) Don’t worry about losing the liquid, as it’s not the coconut milk called for in cooking. Each coconut should break in 3 to 4 pieces. It is also possible to open a coconut by piercing the eyes of the coconut with a screwdriver or ice pick, draining the liquid through the holes and placing the coconut in a 400 degrees F oven for 20 minutes. Wrap the coconut in a towel and hit it with a hammer to loosen the shell and split it into pieces. Pry out the white meat and then pare off the dark skin.
Grating Coconut Meat: To grate the white meat, put the meat through the grating disk of a food processor or use a hand grater. You should get about 7 cups of grated coconut from the two coconuts, which will keep in the refrigerator for 2 to 3 days.
Coconut Liquado: To make the coconut milk, combine the remaining 3 to 4 cups of loosely packed grated coconut with the milk (use 3/4 cup of coconut for each 1 cup of milk) in a heavy saucepan. Heat slowly, bring to a simmer, then remove from the heat and cool. Strain the milk, pressing down on the coconut meat to extract all the liquid. Squeeze all the coconut through a towel to get any last drops. Discard the coconut.
top of page
Cookies, Cookies, and More Cookies
Bakers usually classify cookies by the way they are made. Drop cookies, such as oatmeal and chocolate chip, are made from soft, thick dough that is dropped onto a pan with a spoon or a scoop. Sugar and shortbread are two examples of cookies made from dough that is stiff enough to roll out and cut with a cookie cutter. Icebox cookies, such as checkerboards, are made from dough that is shaped into rectangular or cylindrical blocks and then refrigerated. You can pull the dough from the refrigerator, slice, and bake it at a moment’s notice. The dough for bar cookies, such as spice bars, is shaped into logs that are flattened on a pan and baked. After cooling, you cut them diagonally into thin, chewy bars.
Sheet cookies are baked in a thin layer and can be either cake-like or chewy – brownies and blondies are just two examples. Regardless of the type, make cookies uniform in size and carefully space them to ensure even baking. Remember, cookies bake for just a short time, and will continue to bake after you pull them from the oven. Watch them carefully and remove them about a minute before they are completely done.

